Troubleshooting
NVR Black Screen or No Video: A Layer-by-Layer Fix
Diagnose an NVR black screen by separating camera connection, stream selection, codec decoding, keyframes, rendering, and saved-recording problems.
Identify which surface is black
Test live view, a newly recorded timeline segment, and an exported clip separately. If every surface fails, investigate the camera stream and codec first. If live view works but saved playback is black, focus on recording, segment metadata, timestamps, and storage. If an exported clip plays elsewhere, the media exists and the fault is more likely in the application’s playback or rendering path.
Also note whether audio continues, an error overlay appears, or the camera status remains online. Each observation narrows the failing layer.
Confirm the intended camera stream
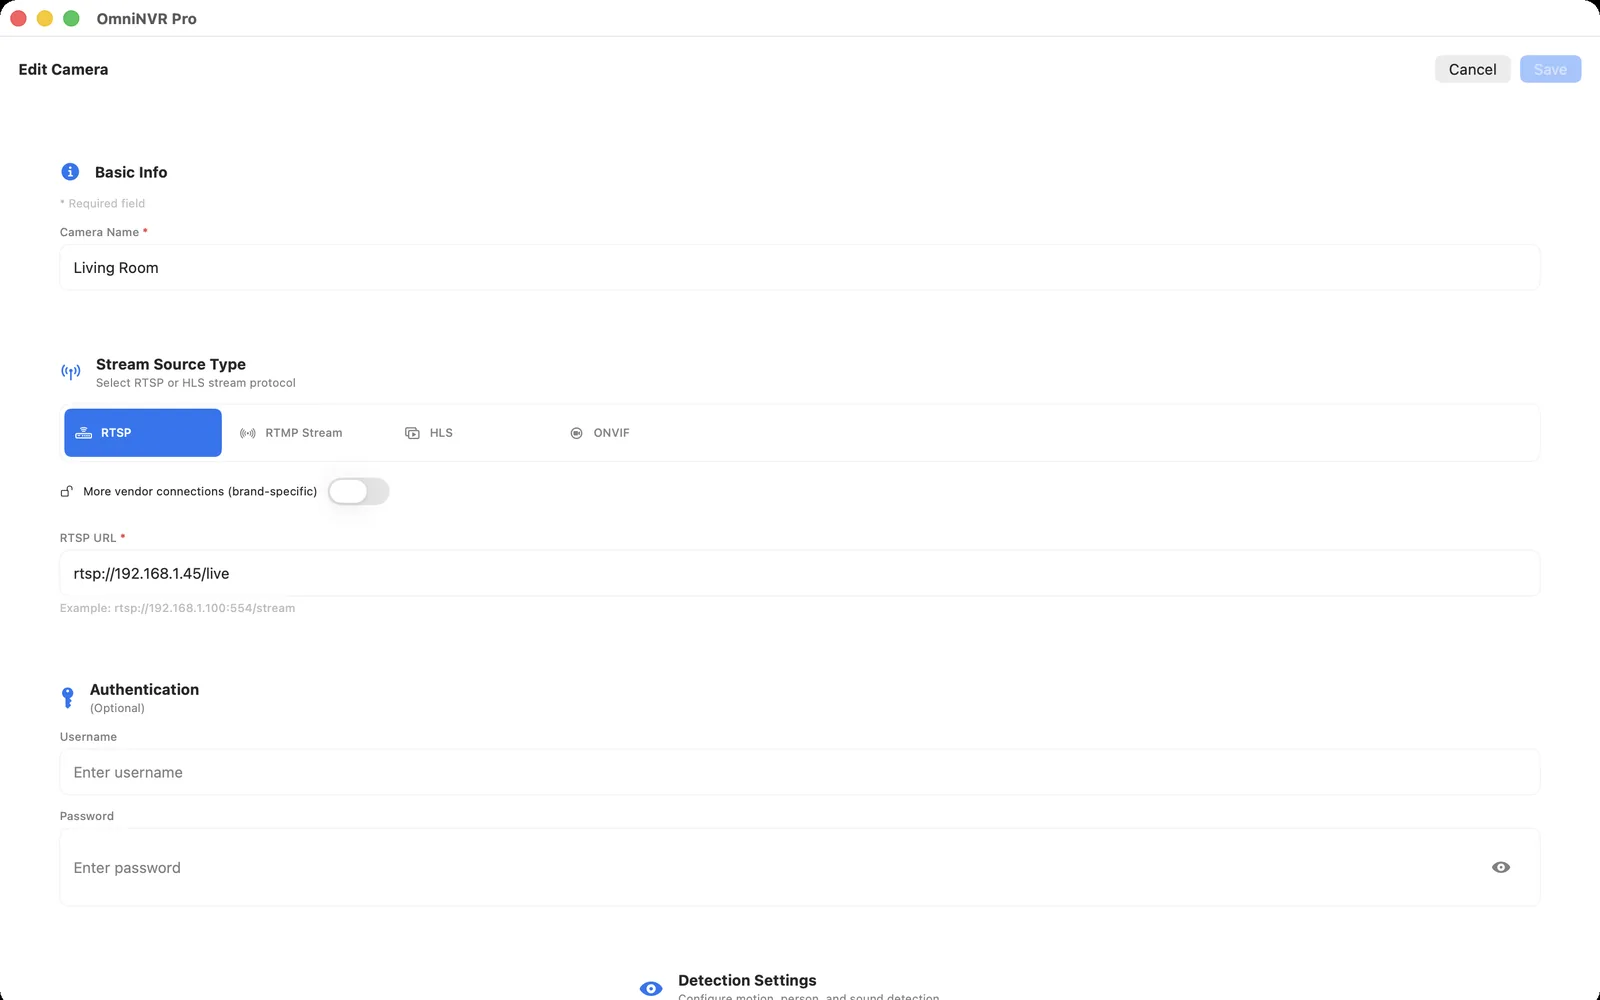
An NVR may use different profiles for the live wall, selected-camera view, and recording. Verify the exact URL or ONVIF profile assigned to the black surface. Open that stream long enough to receive more than its first frames, and compare it with a known-good sub stream.
A connection indicator only establishes that a control session exists. It does not establish that video packets are arriving or that they can be decoded.
Check codec, profile, and keyframes
Inspect the video codec and profile reported by the camera. A device or application can support a codec family without supporting every profile, bit depth, resolution, or packetization variant. Temporarily choose a conservative H.264 profile and lower resolution as a diagnostic when the camera offers those settings.
Decoders commonly need a keyframe before they can display a complete picture. An unusually long or broken keyframe interval can produce a black window after joining mid-stream. Restore documented camera defaults before changing several encoding settings at once.
Distinguish transport loss from rendering
Compare TCP and UDP transport when packet loss is suspected. Check whether another camera on the same NVR and network displays correctly, then move the failing camera to the same known-good conditions where practical. If the problem follows the camera, concentrate on its stream; if it follows one display or app state, concentrate on decoding and rendering.
Restart one component at a time and record what changed. A simultaneous camera, router, and app restart erases evidence without identifying the cause.
Repair recording and playback carefully
For saved video, check that segment files have non-zero size, storage remains mounted, and timeline timestamps cover the selected moment. Use any supported application audit or index-rebuild function instead of renaming or moving managed files by hand.
Preserve a short failing sample and diagnostic report before clearing data. Include the camera model, firmware, stream role, codec, transport, and the exact start time of the black segment.
Frequently asked questions
Why is the NVR connected but the screen is black?
The RTSP control session may be open while media packets are absent, damaged, or not decodable. Verify the exact stream, transport, codec, and keyframe behavior.
Why does live video work but recorded playback is black?
The recording path adds segment metadata, timestamps, storage writes, and indexing. Test a fresh short recording and compare the saved file with the timeline entry.
Will lowering camera resolution fix a black screen?
It can be a useful diagnostic if the original codec profile or decode load is unsupported, but it is not a universal fix. Change one encoding setting at a time and preserve the original configuration.
Sources and further reading
Record locally on the Apple device that fits the job.
Mac, iPhone, iPad, and Apple TV all support local recording. Recording modes and storage options can differ by platform and app version.