
Playback
NVR Timeline Playback and Video Export: A Reliable Review Workflow
Review NVR recordings efficiently with camera filters, time navigation, event context, playback checks, and a repeatable evidence-export workflow.
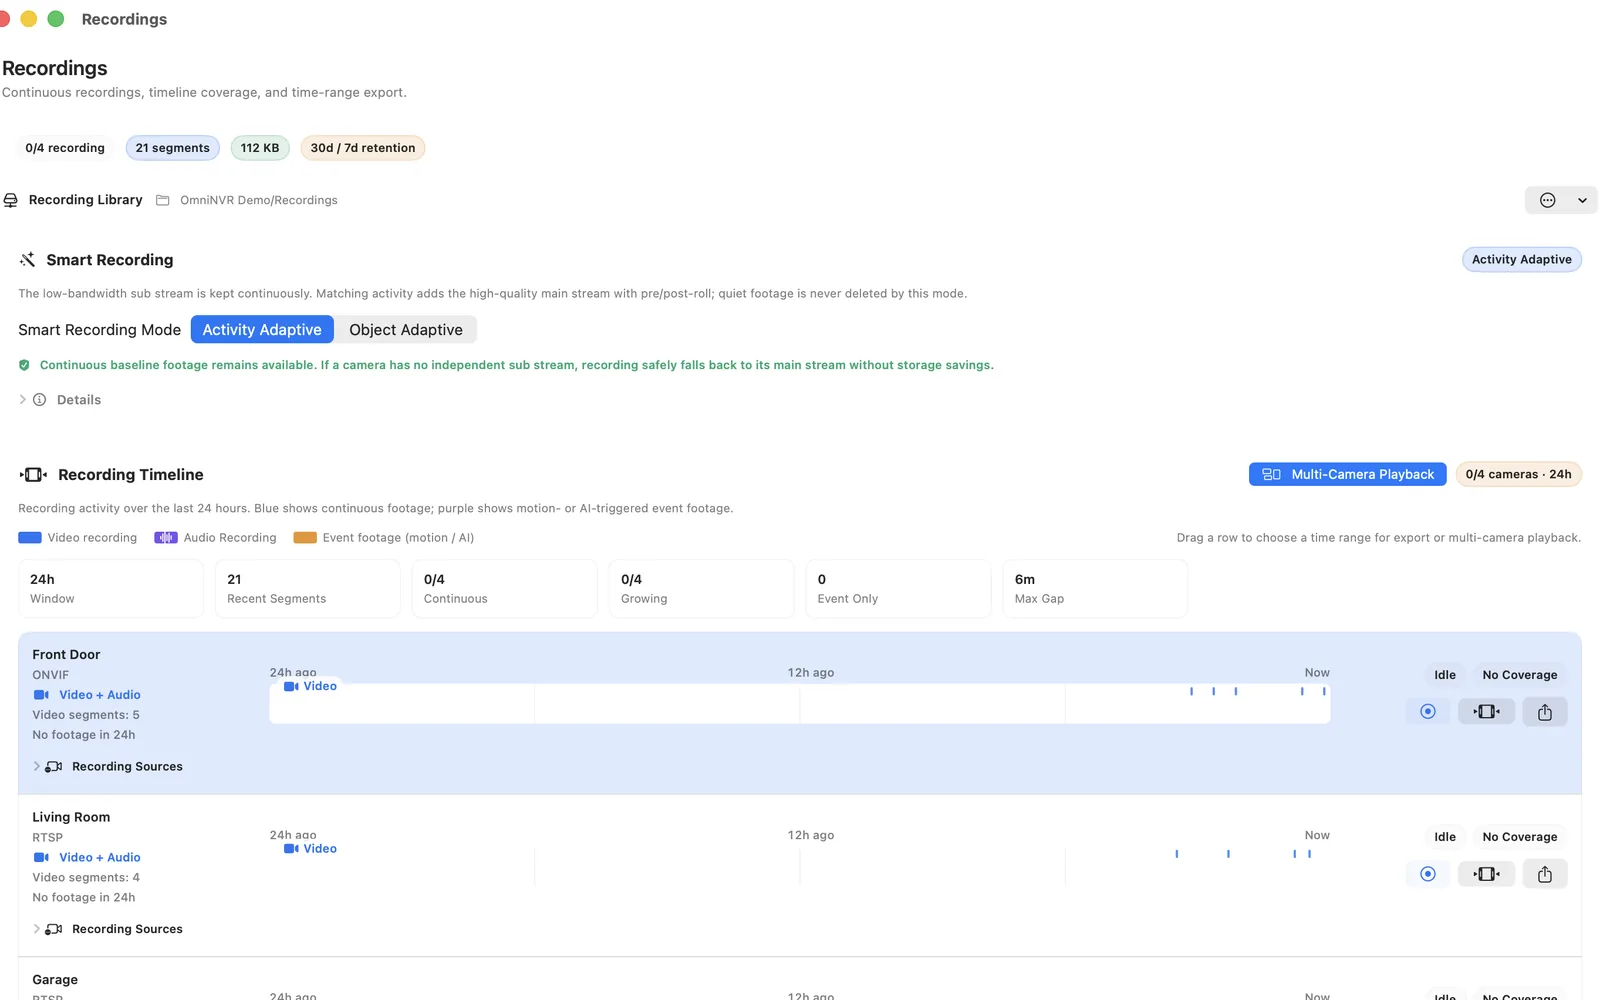
Anchor the search with camera, time, and context
Start with the camera name, an approximate wall-clock time, the site time zone, and a window before and after the reported event. If the time came from a message, access log, or another camera, note whether that source uses a different time zone or has clock drift.
Use event markers as navigation aids, not as proof that nothing happened outside them. Detection can miss activity, and a continuous baseline often provides the context immediately before a marked event.
Read the timeline before pressing play
Look for gaps, overlapping bands, quality changes, and the boundary between continuous and event-triggered recordings. Confirm that the newest segment advances when the camera is expected to be recording. A green live status does not prove that historical segments are being written.
When multiple streams are used, the baseline and event clip may differ in resolution or start delay. Keep their roles visible so a quality transition is not mistaken for corruption.
Verify playback around segment boundaries
Begin several seconds before the incident and play through at least one segment boundary. Check picture, timestamps, audio where authorized, and seeking behavior. If playback stalls, test an adjacent interval and another camera to determine whether the fault belongs to one segment, one stream, the storage volume, or the player.
Avoid modifying managed recording files during diagnosis. Preserve the original segment and create a separate exported copy.
Export a focused, verifiable clip
- Select one camera and a precise start and end time with useful context.
- Confirm that the interval plays before export.
- Choose a destination outside the NVR-managed recording directory.
- Open the completed export in an independent trusted player.
- Record the source camera, site time zone, interval, export time, and person who created the copy when the clip may be used as evidence.
Keep the clip no longer than necessary. Smaller exports are easier to review and share securely, while the original retention store preserves broader context.
Protect the original and share deliberately
Do not rename, transcode, or overwrite the original NVR segments. If integrity matters, retain the original export and create a separate working copy for redaction or format conversion. Use secure transfer and limit recipients because surveillance footage can reveal identities, routines, and private spaces.
Test the export workflow before an urgent incident. A recorder is only useful if operators can find and open the required interval under time pressure.
Frequently asked questions
Why is an event marker present but no video plays?
The marker and recording media may be stored separately. Check storage availability, segment timestamps, retention state, and whether the event references a stream that was actually recording.
How much video should I export around an incident?
Include enough time before and after the event to establish context, but avoid unnecessary footage. Verify the full selected interval before sharing it.
Should I edit video inside the NVR recording folder?
No. Preserve the managed recording store. Export a separate clip, keep an original copy, and perform any redaction or conversion on another working copy.
Sources and further reading
Record locally on the Apple device that fits the job.
Mac, iPhone, iPad, and Apple TV all support local recording. Recording modes and storage options can differ by platform and app version.