RTSP
How to Test an RTSP Stream on Mac Before NVR Recording
Test an RTSP camera stream on Mac for URL, authentication, transport, codec, stability, reconnect, and actual NVR recording—without relying on unsafe public camera URLs.
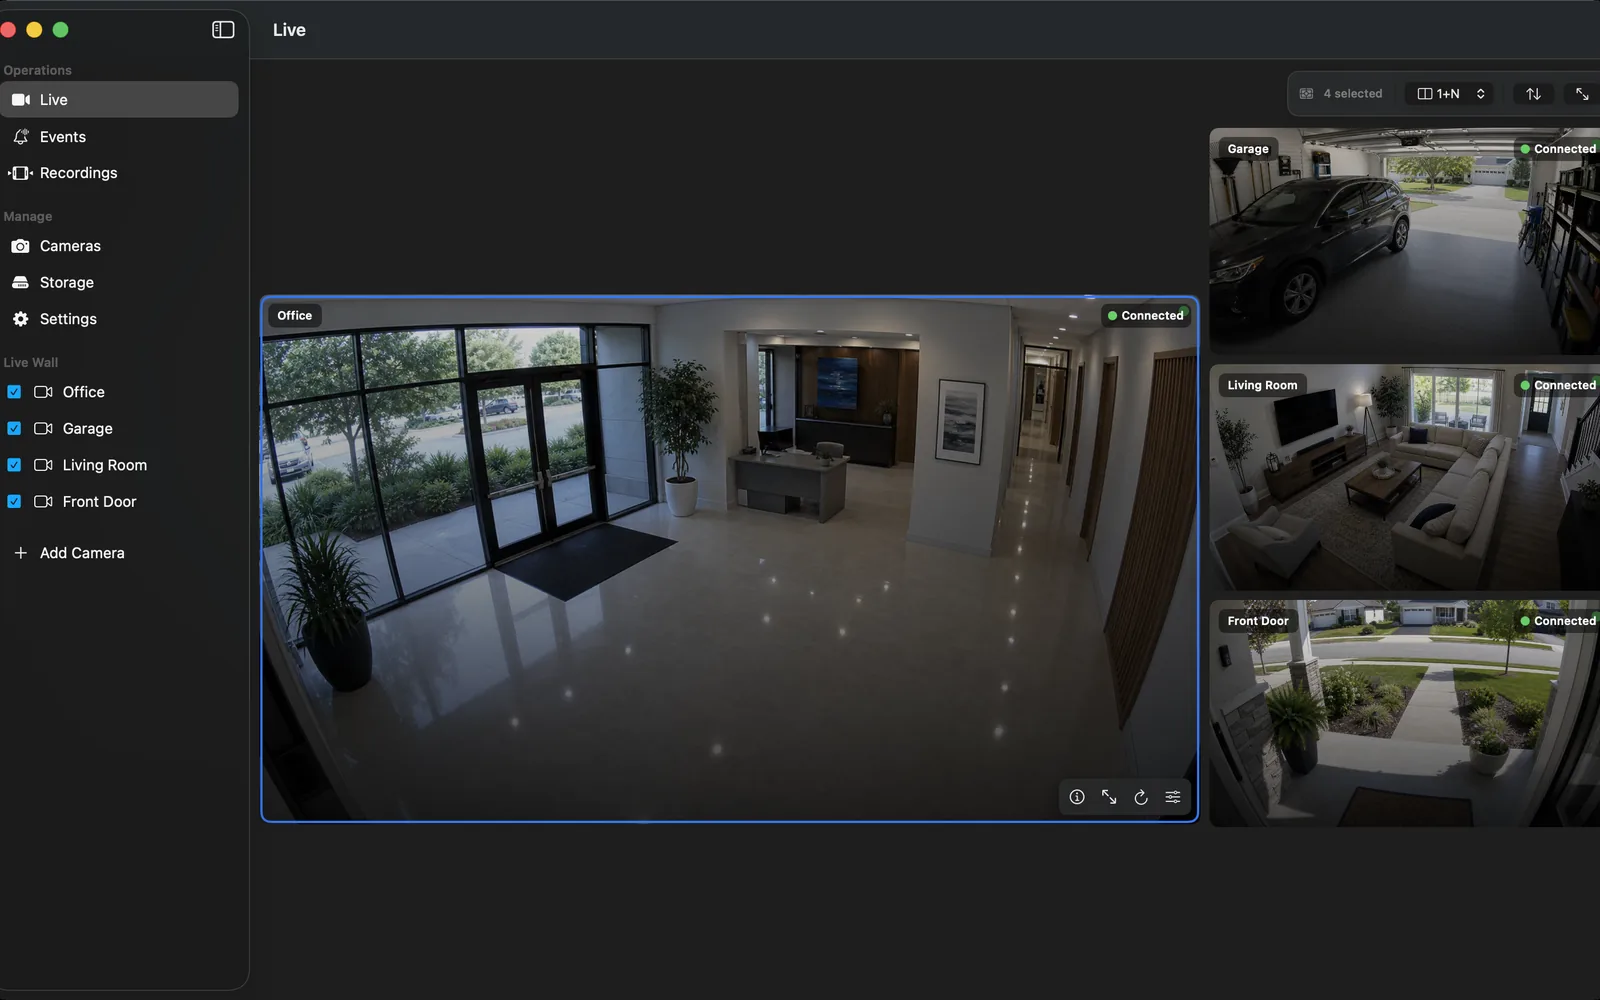
Use your own camera or a controlled local fixture
The best test source is the exact camera and firmware you plan to record. If that device is not available, create a controlled local RTSP test stream whose codec and behavior you know. Public camera lists are a poor acceptance test because links expire, owners may not have consented to redistribution, and their network behavior says nothing about your deployment.
Keep the Mac and camera on reachable network segments. Start with the vendor-documented URL or the URI returned by an authenticated ONVIF media profile.
Inspect the stream before judging the NVR
A stream inspector can reveal whether the RTSP presentation advertises video, audio, codec profile, resolution, frame rate, and time-base information. With FFmpeg tools installed, a diagnostic such as ffprobe -v error -rtsp_transport tcp -show_streams -of json "rtsp://camera-host/path" can inspect a URL that does not contain embedded credentials. Prefer a protected application field for authentication rather than placing a real password in terminal history.
If inspection returns no video track, the NVR cannot manufacture one. Recheck the model-specific path, profile, account, and service enablement before changing unrelated recording settings.
Compare transport only after the URL works
RTSP controls the session while media may travel through different transport arrangements. Start with the application's default. If negotiation succeeds but media freezes or never arrives, compare interleaved TCP with UDP where both ends support it. Record which one is used in the final configuration.
A result from TCP does not prove UDP will cross a VLAN or firewall, and a clean LAN UDP result does not prove it will survive a remote path. Test the topology that will actually run.
Run a ten-minute media test and a one-hour recording test
- Open the stream for ten minutes and watch for stalls, black frames, audio loss, and timestamp jumps.
- Switch between the intended main and sub streams and record their measured properties.
- Add the chosen stream to the NVR and record for one hour.
- Seek across several timeline positions and one segment boundary.
- Export a short interval and open it independently.
Live decoding and NVR recording exercise different layers. Passing both tests is more meaningful than repeatedly reopening a preview window.
Prove reconnect and document the result
Briefly disconnect the camera network, wait for the NVR to detect the loss, restore it, and measure the return to live video and recording. Then restart the camera and repeat. Confirm whether the timeline shows a bounded gap or requires operator action.
Save the exact model, firmware, non-secret URL path, stream role, codec, transport, test duration, NVR version, and result. That record turns a one-off success into a compatibility baseline for later updates.
Frequently asked questions
Where can I find a free public RTSP test URL?
Use your own camera or a controlled local fixture whenever possible. Public camera URLs are unstable, may expose private footage, and are not evidence that your intended camera or NVR will work.
Why does ffprobe work but the NVR does not record?
Stream inspection proves negotiation and media description. An NVR also needs sustained reception, compatible timestamps, storage writes, segment finalization, indexing, retention, and playback.
Should I test RTSP over TCP or UDP?
Start with the product default, then compare only when troubleshooting or validating a requirement. Use the transport that remains reliable on the actual deployment network.
Sources and further reading
Record locally on the Apple device that fits the job.
Mac, iPhone, iPad, and Apple TV all support local recording. Recording modes and storage options can differ by platform and app version.